
Cooking Outdoors • Learn Grilling, BBQ, and Dutch Oven Cooking


Grand Velas Riviera Maya – Cooking and Plating Demonstration
During a recent visit to Cancun, I enjoyed the opportunity to experience Grand Velas Riviera Maya luxury all-inclusive resort for a short three-day stay recently, during which I was treated to a wonderful cooking and plating demonstration by two of their world-class...
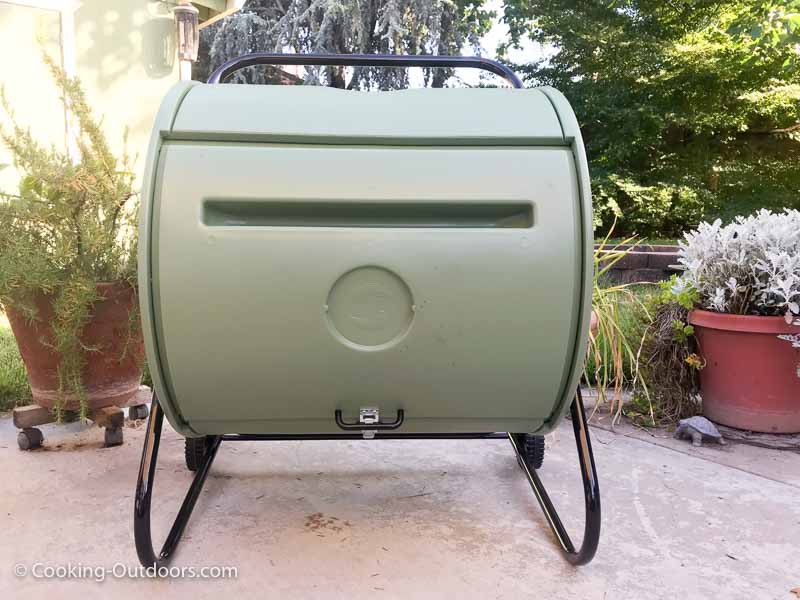
Mantis Back Porch Compost Tumbler for the Cooking Outdoors Kitchen
For years I have been using a three-bin system of composting, and I detested the waste of space. Mantis, of the "Mantis Tiller/Cultivator" fame, asked me if I would be willing to try out their Mantis Back Porch Compost Tumbler. Seeing how I have been composting for...

Fort Wayne Food Tours 5-Star Experience
There is no better way to explore a new city than taking a food tour, and Fort Wayne Food Tours delivered a 5-Star Experience during my recent trip to Fort Wayne, Indiana. Now in its 2-year of guiding their guest to delicious food experiences at local restaurants and...

Grilled Steak, Roasted Vegetables and Risotto on the Grill
Grilled Steak, Roasted Vegetables, and Risotto on the Grill video from December 2016. (I have no idea why I never shared this on the Cooking-Outdoors blog but I am correcting this oversite now.) One of the recipes I enjoyed immensely, from my visit to "Telefonica...
Traveling 4 Food
Grand Velas Riviera Maya – Cooking and Plating Demonstration
During a recent visit to Cancun, I enjoyed the opportunity to experience Grand Velas Riviera Maya luxury all-inclusive resort for a short three-day stay recently, during which I was treated to a wonderful cooking and plating demonstration by two of their world-class...
Outdoor Cooking Videos
Grand Velas Riviera Maya – Cooking and Plating Demonstration
During a recent visit to Cancun, I enjoyed the opportunity to experience Grand Velas Riviera Maya luxury all-inclusive resort for a short three-day stay recently, during which I was treated to a wonderful cooking and plating demonstration by two of their world-class...
Product Reviews
Mantis Back Porch Compost Tumbler for the Cooking Outdoors Kitchen
For years I have been using a three-bin system of composting, and I detested the waste of space. Mantis, of the "Mantis Tiller/Cultivator" fame, asked me if I would be willing to try out their Mantis Back Porch Compost Tumbler. Seeing how I have been composting for...