How to Make Cedar Plank Trays
Since I released my Holiday Pork Loin video, I have received a few questions about the Cedar Plank Tray that I used and I hope to be able to provide you with a detailed description of how I make mine here. You can, of course use any type of plank you desire, oak, apple, hickory, pecan, etc. just match it up with the type of food you are cooking.Your grilling game will vastly improve when you add Cedar Plank Trays to your grilling arsenal. I received my Cedar Planks from Natures Choice, some of the finest Cedar Planks I have ever used.
You will need a few tools to make the Cedar Plank Trays:
- Table saw
- Safety goggles/glasses
- Tape measure
- Pencil
- Drill
- Small drill bit (slightly smaller than the nail you will be using)
- Hammer
- Nails
- Cedar Planks (or wood of your choice)
I make three different sizes of Cedar Plank Trays:
- Small 5″ x 5 1/2″ x 2 1/2″
- Medium 5″ x 9 1/2″ x 2 1/2″
- Large 5″ x 15″ x 2 1/2″
These sizes are just what I have found to save me as much wood as possible after cutting.
The large size is same as the delivered Cedar Planks from the manufacturer: 5″ x 15″ x 1/2″
So I am able to cut a medium and a small bottom out of one large plank.
The sides are cut from another piece. At the most you will need three planks to make a large Cedar Plank Tray.
Make several different sizes to maximize your waste.
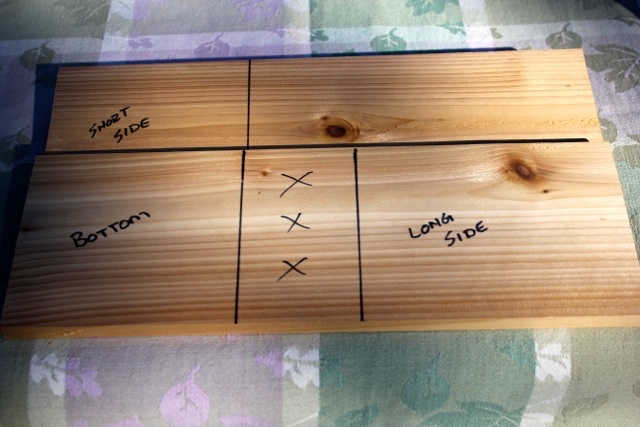
Here is a typical layout for making a small Cedar Plank Tray with left over scrap to make a medium bottom (top right).
I have my 5″ x 5 1/2″ bottom piece, 6 1/2″ x 5″ long side and a 5 1/2″ x 5″ short side from just two Cedar planks.
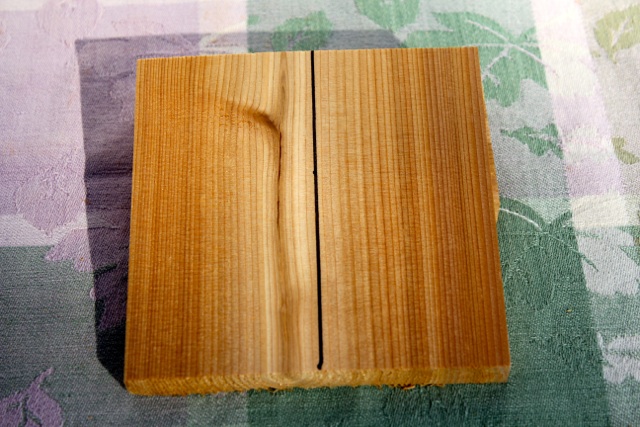
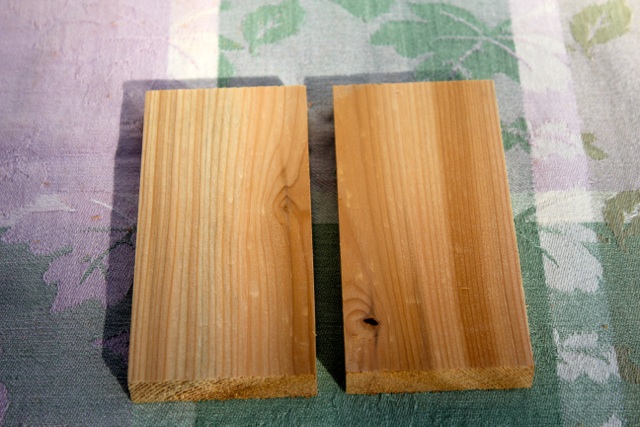
Once you have cut your pieces out of the Cedar Planks you need to split the short and long side pieces into two halves each.
This will give you four pieces approximately 2 1/2″ wide.
Nail hole locations shown above (slight overkill).
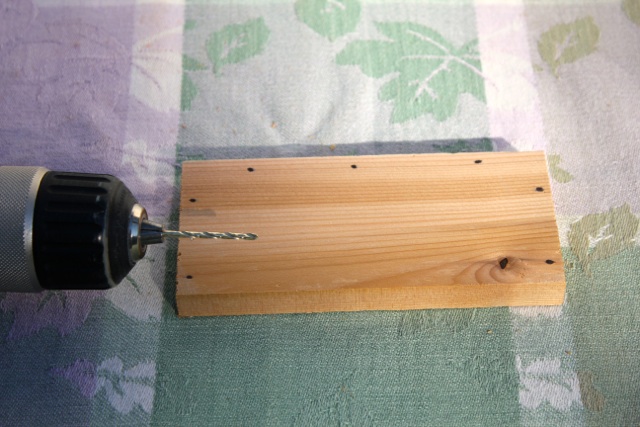
Drill a pilot hole where the nails are going in the sides only (no holes drilled into the bottom piece).
Use a drill bit slightly smaller than the nails you will be using.
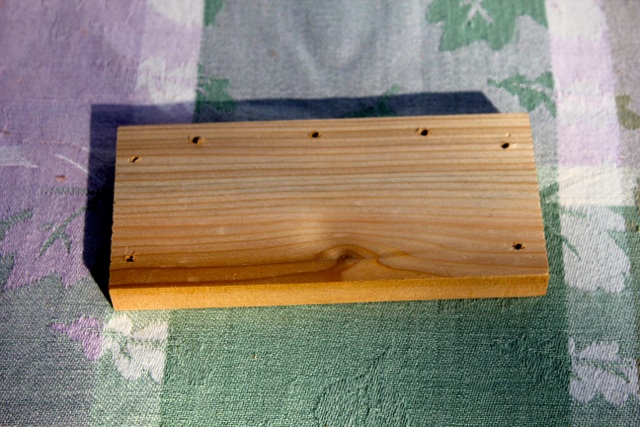
Nail holes drilled.
Note: I would only use four nail holes on a small Cedar Plank Tray – two on the bottom edge and one on each side.
The picture above is good for the medium and large trays.
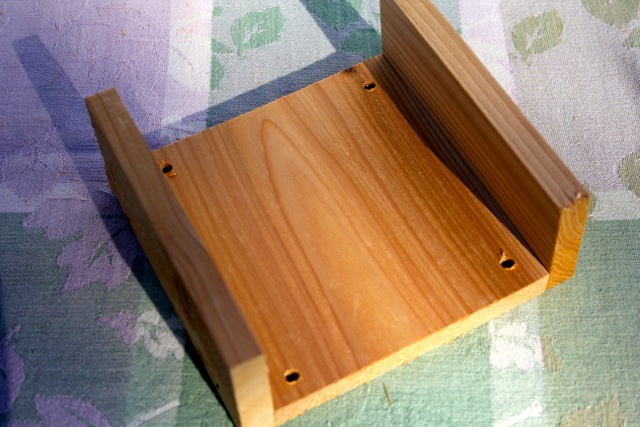
Side attached with nails. – I use ribbed paneling nails for my boxes, they seem to hold better than smooth nails.
This box shows the 1/4″ grease weep holes. I drill these in when I am grilling greasy foods and don't want it to pool up inside the tray.
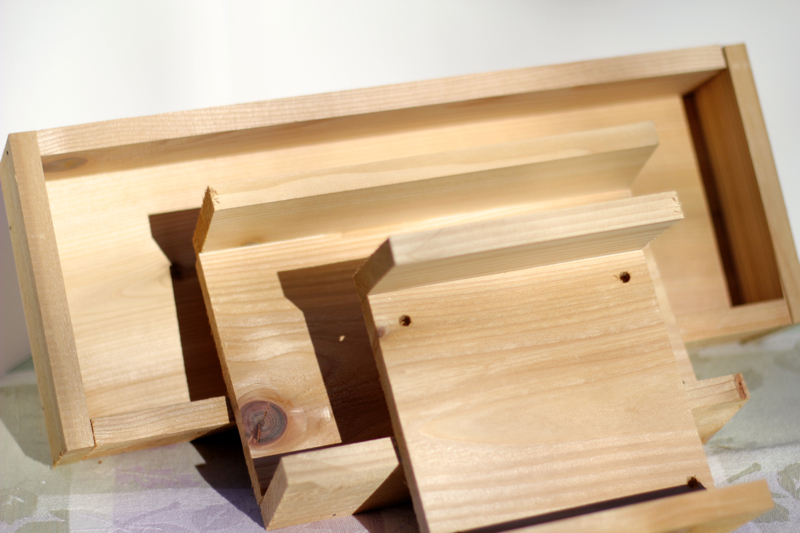
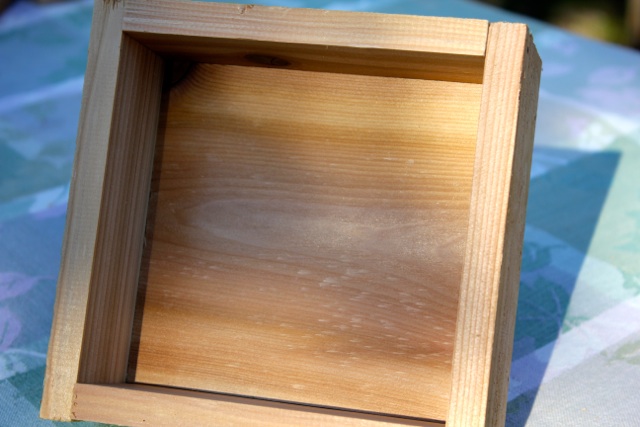
The final Cedar Plank Tray assembled and ready for the grill.
Some final notes:
- Soaking is optional.
- You can use the trays multiple times (depending on the food you grilled).
- Keep a squirt bottle of water and an fire extinguisher close by when grilling.
- Do not leave the grill unattended.


nice cedar plank
I use stainless steel screws so that they can be taken apart easily, and screws can be reused. Thanks for the great ideas on your web site and you tube.
Great tip Craig!